8 Steps to Applying Stamp Concrete
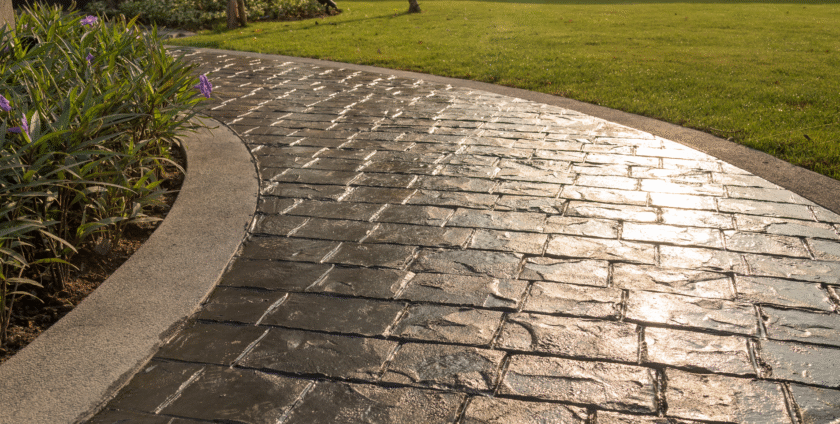
If you are thinking of giving your floor a beautiful and unique look? Let me tell you that Stamp concrete flooring could be the perfect choice for you. It is an easy, fun, and creative way to make your floors beautiful. It looks like they are made from stone, brick, or even wood. And the best part is that it is front in the race for durability and strength of concrete flooring.
In this simple guide, we will show you 8 easy steps to apply stamp concrete flooring in your home or outdoor space.
1. Prepare Your Surface
Before you start, clean the area properly where you will be laying your stamp concrete flooring. If you are working outside, make sure the ground is level and free from dirt, rocks, or any other debris. And for indoor spaces, ensure there are no cracks.
2. Mix the Concrete
Now it is time to mix your concrete. You can do this by hand in a big container or use a concrete mixer if you have one. You can follow the instructions mentioned in your concrete bag for the right water-to-powder ratio.
3. Pour the Concrete
Once your concrete mix is ready, pour it onto the prepared surface. Then, spread it out evenly using a shovel or trowel. Make sure to fill all the corners and edges. You can also use a level tool to double-check the level of the surface. After this, you can sit for a little while, so it holds its shape.
4. Apply the Release Agent
When the concrete has settled but is still soft, apply a release agent. This special liquid makes it easier for the stamps to press into the concrete without sticking. Just spray the release agent evenly over the surface to leave a beautiful design behind.
5. Start Stamping the Concrete
Now for the fun part comes! Take your stamp concrete mats or stamps and start pressing them into the concrete. You can choose stamps that look like stone, brick, wood, or any other design you like.
6. Press the Stamps Firmly
You have to press them down firmly and leave a little space between each stamp so the pattern comes out properly. Kindly don’t want to push too hard, just enough to make the design show up clearly.
7. Remove the Stamps
After stamping the whole area, carefully lift up the stamps. Be gentle to avoid messing up the pattern you just made. You will see the lovely design and texture left behind.
8. Seal the Concrete
The final step is to seal your stamped concrete flooring. The sealer helps protect the surface from damage and keeps your design looking fresh for a long time. You can apply the sealer with a roller or sprayer.
And that’s it. In just 8 simple steps, you will have beautiful stamp concrete flooring that looks amazing and lasts for years to come.
- By: Shivam Sharma
- Tags: stamp concrete
- Category: Stamp Concrete
- 0 comment